

QR
Optical code convenient for your phone, longer ID or application link. It requires legible printing and visibility.
QR codes and barcodes
The code connects a physical item to its record. Makes it easier data check, issue, return, inventory or problem report in the selected Service-King module.
Start with a camera phone or use the scanner and handheld terminal the team already uses.
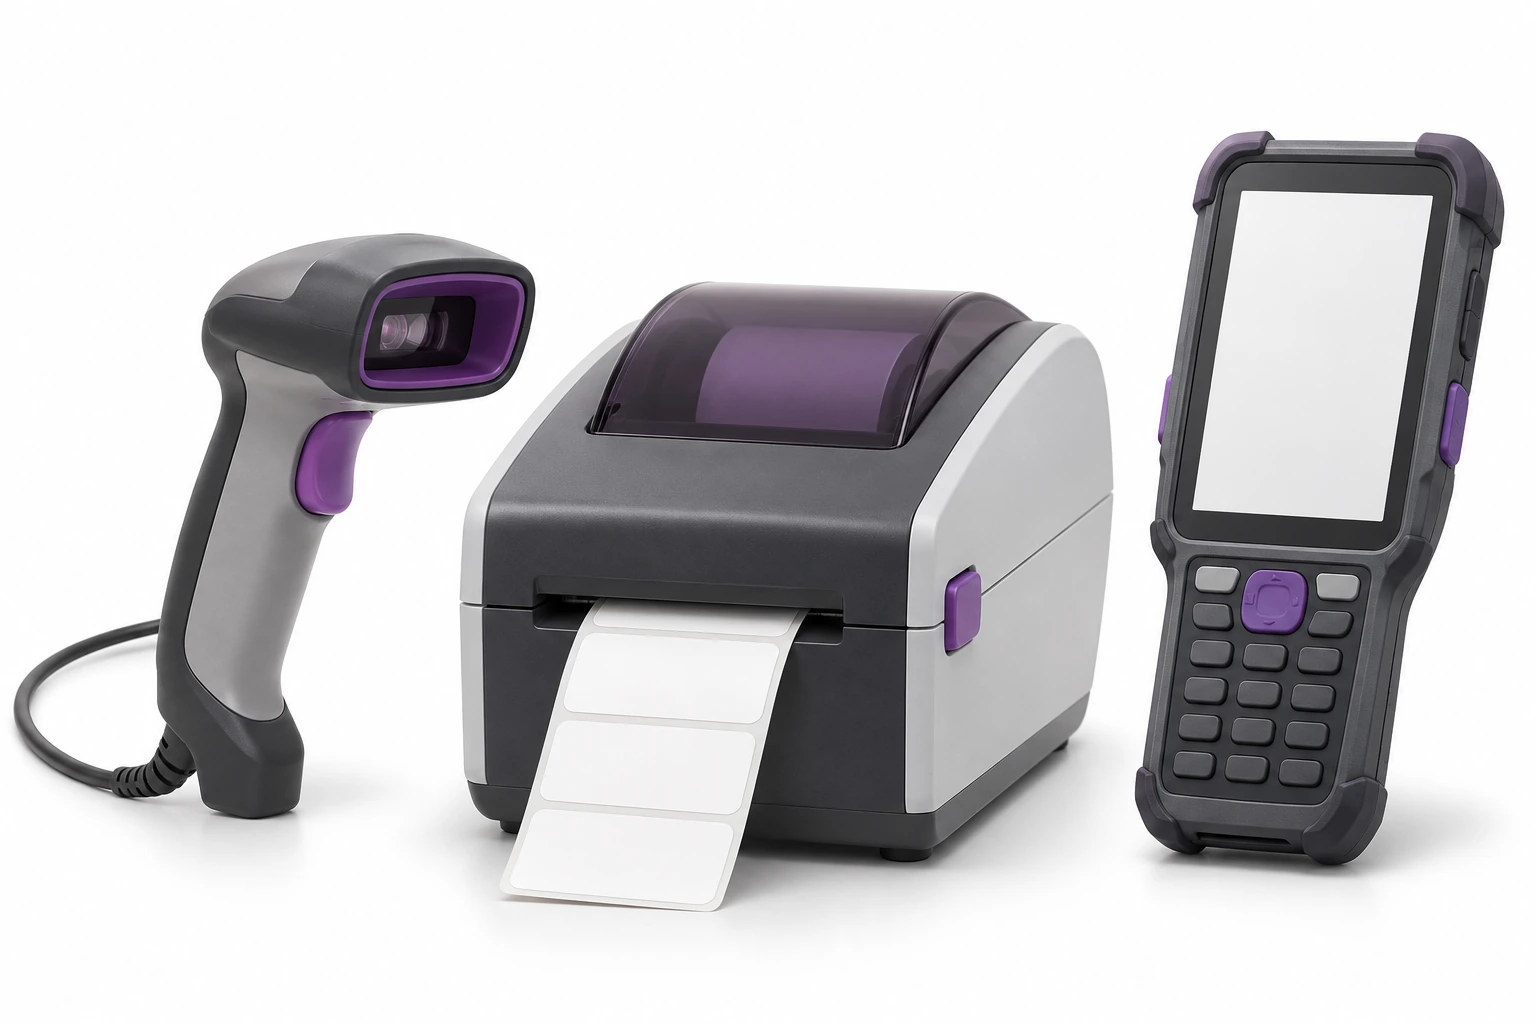
After reading the code, the system matches the item. Then choose the appropriate action: view, check-out, return, transfer, stocktake confirmation or maintenance handling.
Designation review and transfer approval are separate activities. Thanks to this, work with the file remains related to what you actually do.
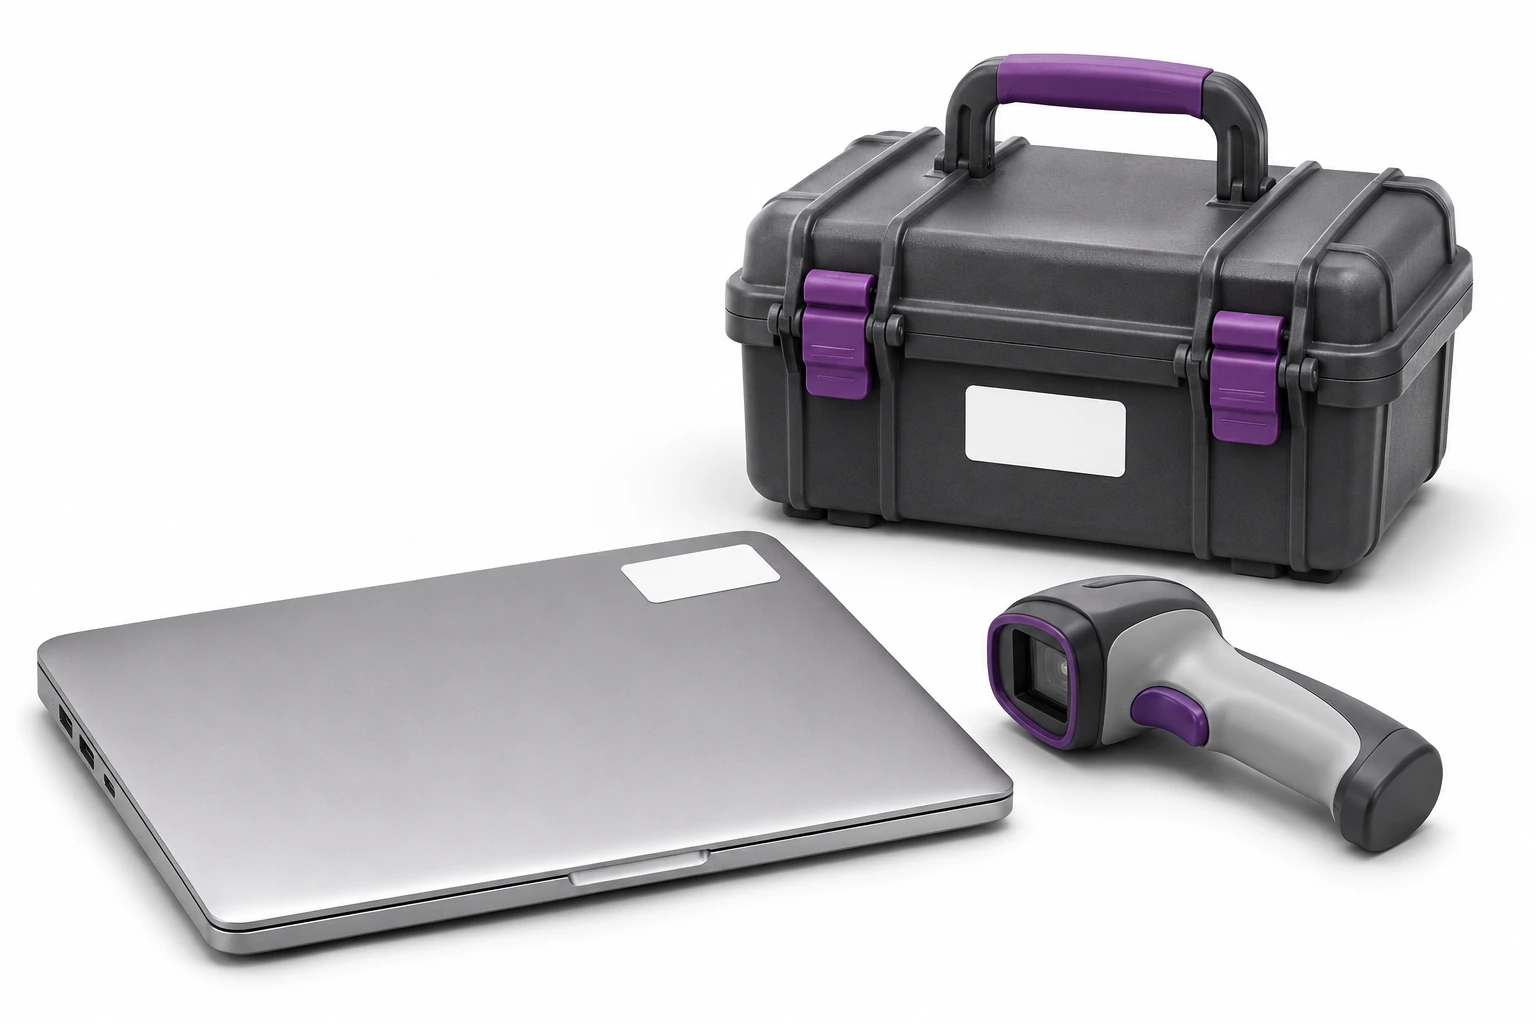
If you want to track the history of each piece, you need an individual ID.
Optical code convenient for your phone, longer ID or application link. It requires legible printing and visibility.
1D code for text number. Works with many scanners; its width must be adjusted to the content and label.
Valid number in this format, with check digit. The common model code does not automatically distinguish identical units.
In the warehouse, you count equipment with a UHF reader. For a single item, you point to its record with a QR code.
The primary and secondary identifiers may link to a single item. You don't duplicate things because of a different way of reading them.
We check formats and duplicates, and whether the number indicates a model, item, person or place.
Primary EPC for UHF and secondary SK-N-0001 for QR. This is a fictional example; both identifiers are intended to indicate the correct item.
You select the assortment and open the QR / 1D generator. You select the code type and data source: primary ID, secondary ID, extension number, or app link.
You select useful fields for printing, for example name, serial number or location. Preview allows you to check the layout before preparing the PDF.
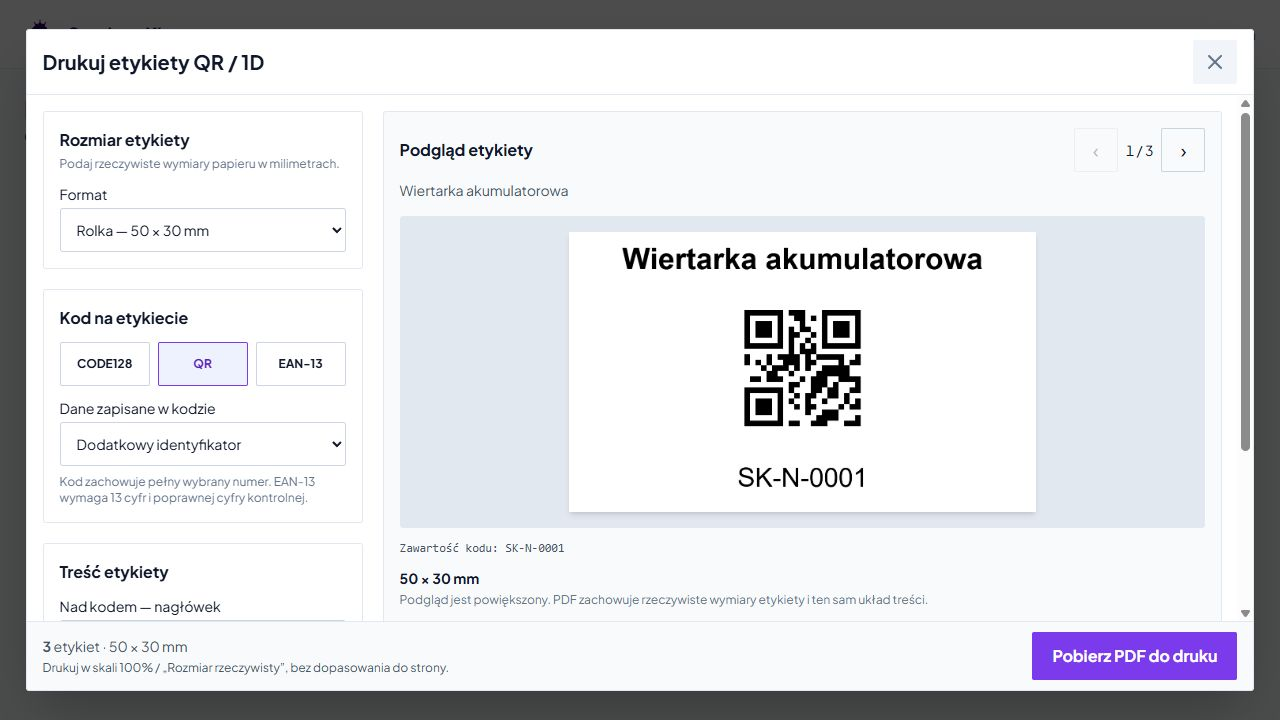
The generator takes into account A4 sheets, popular roll formats and your own dimensions in millimeters. The length of the number must fit within a readable code.
When the code is too dense, you choose a larger label or another format, such as QR. We check the sample on the used printer, material and scanner.
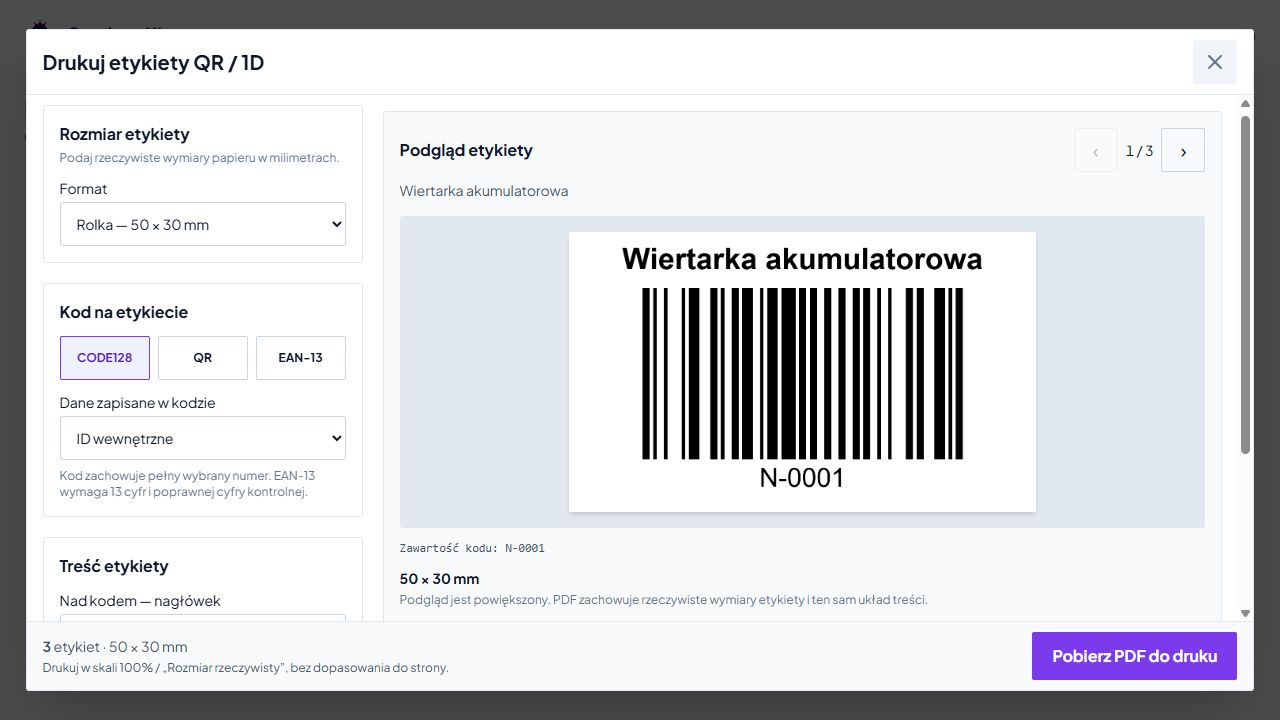
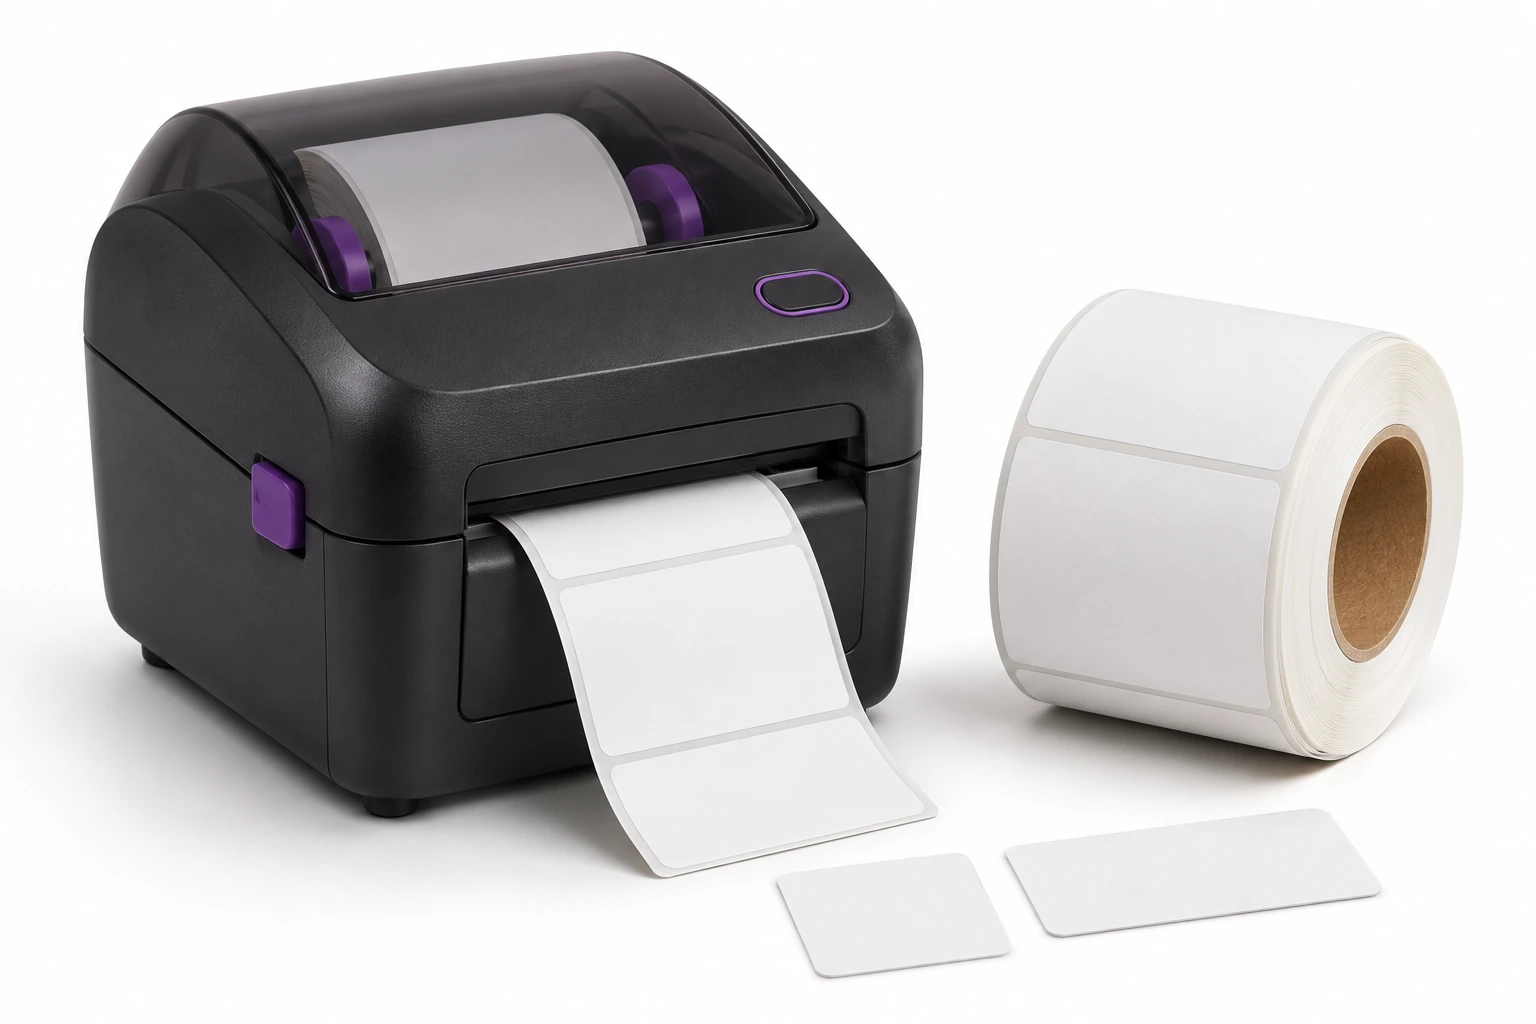
PDF you print in real scale, without fitting to the page. You check the sharpness, size of the code and readability of the data underneath it.
It is worth immediately testing the mounting location and reading under working conditions. Label durability, printer and use form one set.
A QR or 1D code print is an optical print. Writing EPC to an RFID tag requires a separate step and a compatible device.
From the record to the marking that works in your position.
The phone is convenient for single and occasional readings. The camera requires a compatible browser, user consent and appropriate terms.
The hardware scanner can pass sequential numbers more efficiently, for example in agreed keypad mode. We choose it depending on the type of codes, number of operations and target label size.
The code helps you point to an instance without having to search for a similar name in a long table.
Item recognition upon issue and return. See tool workflow →
Identification of the machine before reporting or service. Learn about maintenance →
Confirmation of correct item on check-out and return. See rental →
List of hall and room equipment. Learn about inventory →
Indication of container or equipment when moved. See warehouse management →
Recognition of equipment before handling the request. Learn about tickets and tasks →
One record may combine various designations. The device must be compatible with the technology being read.
They require visibility and appropriate printing. They help point to a single thing.
Radio reading of compatible tag and reader. The material and the environment influence the result.
Separate selection of standard, tag and reader. We verify phone support for a specific device and process.
Yes, if you can get them clearly match to the right data. First, we check for duplicates and meaning of numbers. It is not always necessary to replace all stickers.
No. Printing the code and recording radio data are separate activities. RFID printing and encoding requires a compatible printer or encoder and verified configuration.
Free consultation
Show current tags and the activity the team does most often.
We will prepare an example that leads to the correct record and operation.
Describe things, current codes and most important action.
Practical knowledge