

Name and zone
Indicate where the point works and bind the terminal or NFC tag. A clear name makes it easier to work with the history.
RCP / Time-King - attendance registration
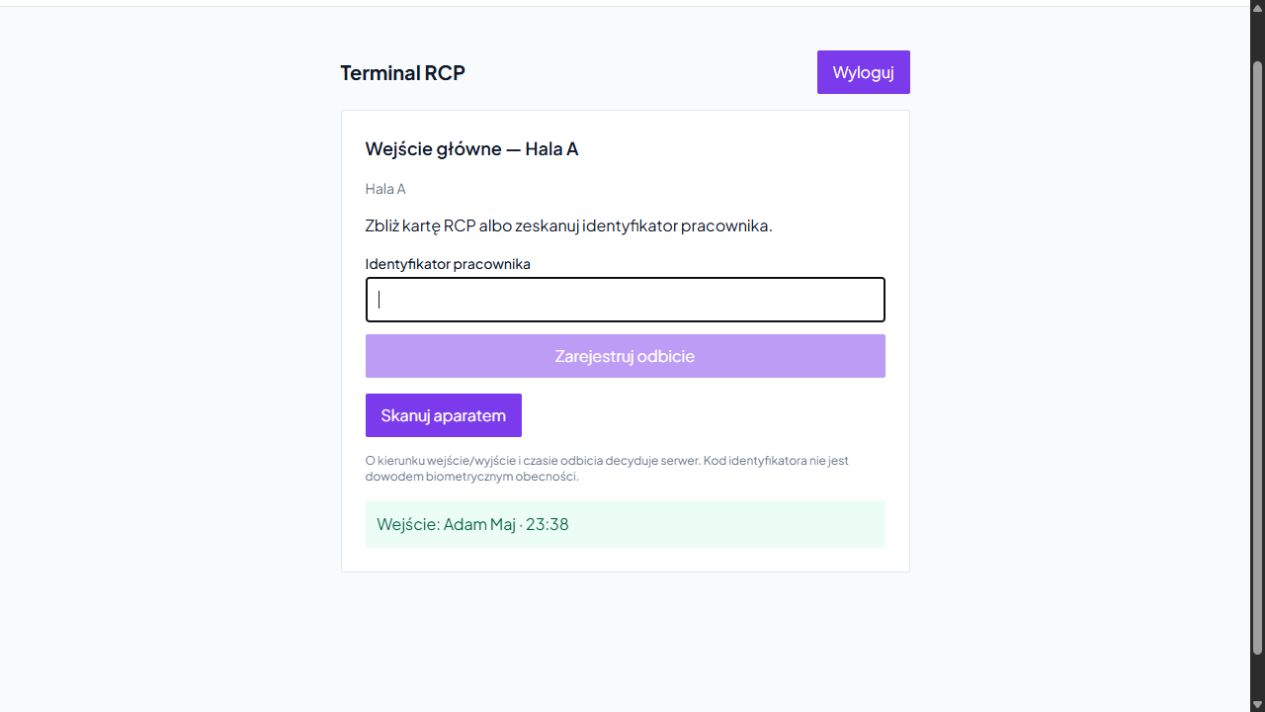
The employee records the reflection at a prepared point. The manager sees entry and exit times, open entries and registrations to be clarified.
You can read the ID with a compatible reader, enter it in the field or scan the supported code with a camera. The confirmation shows the event direction and time. NFC support depends on device and environment.
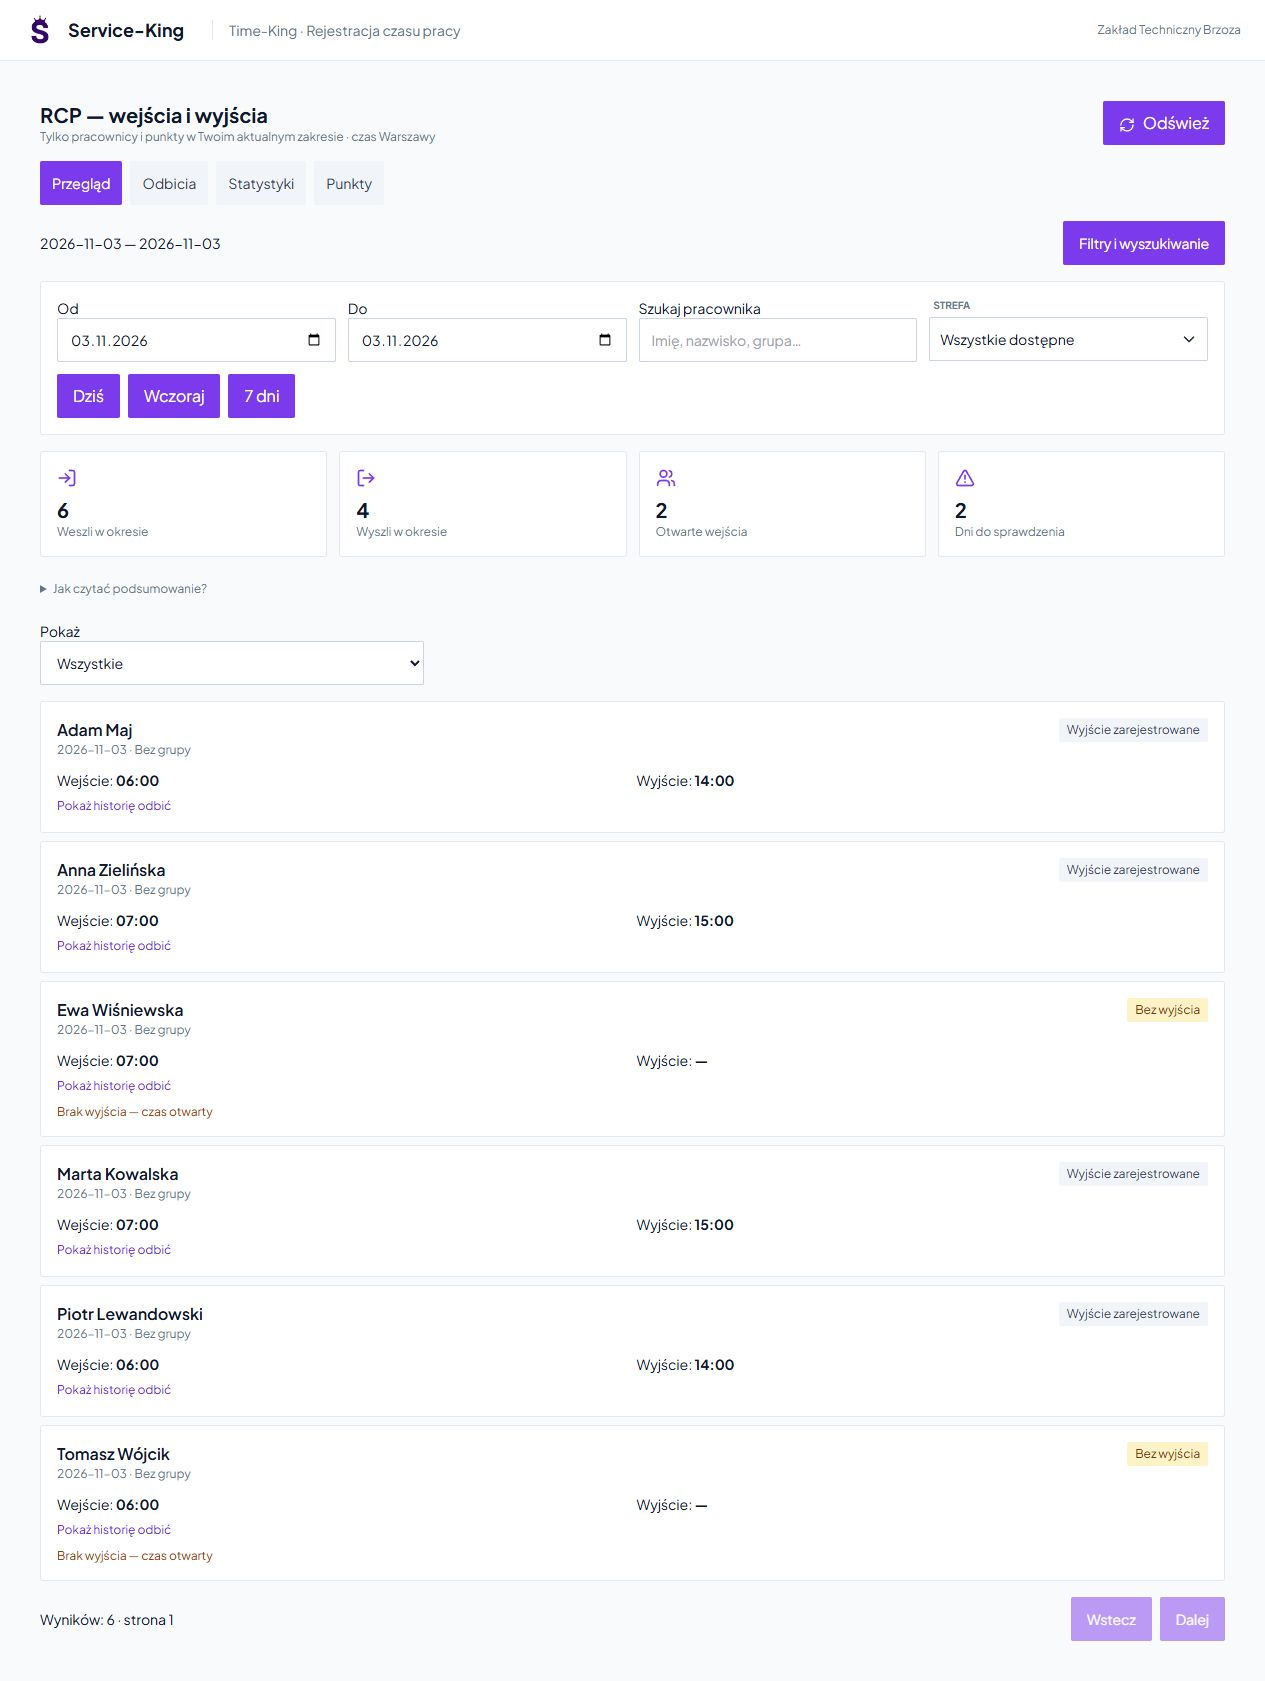
View for authorized users
You choose employee, period and zone. Shortcuts to today, yesterday and the last seven days speed up your daily overview.
Example: after another entry without a saved exit, an authorized person checks the history before using the data for settlements.
Complete before settlement
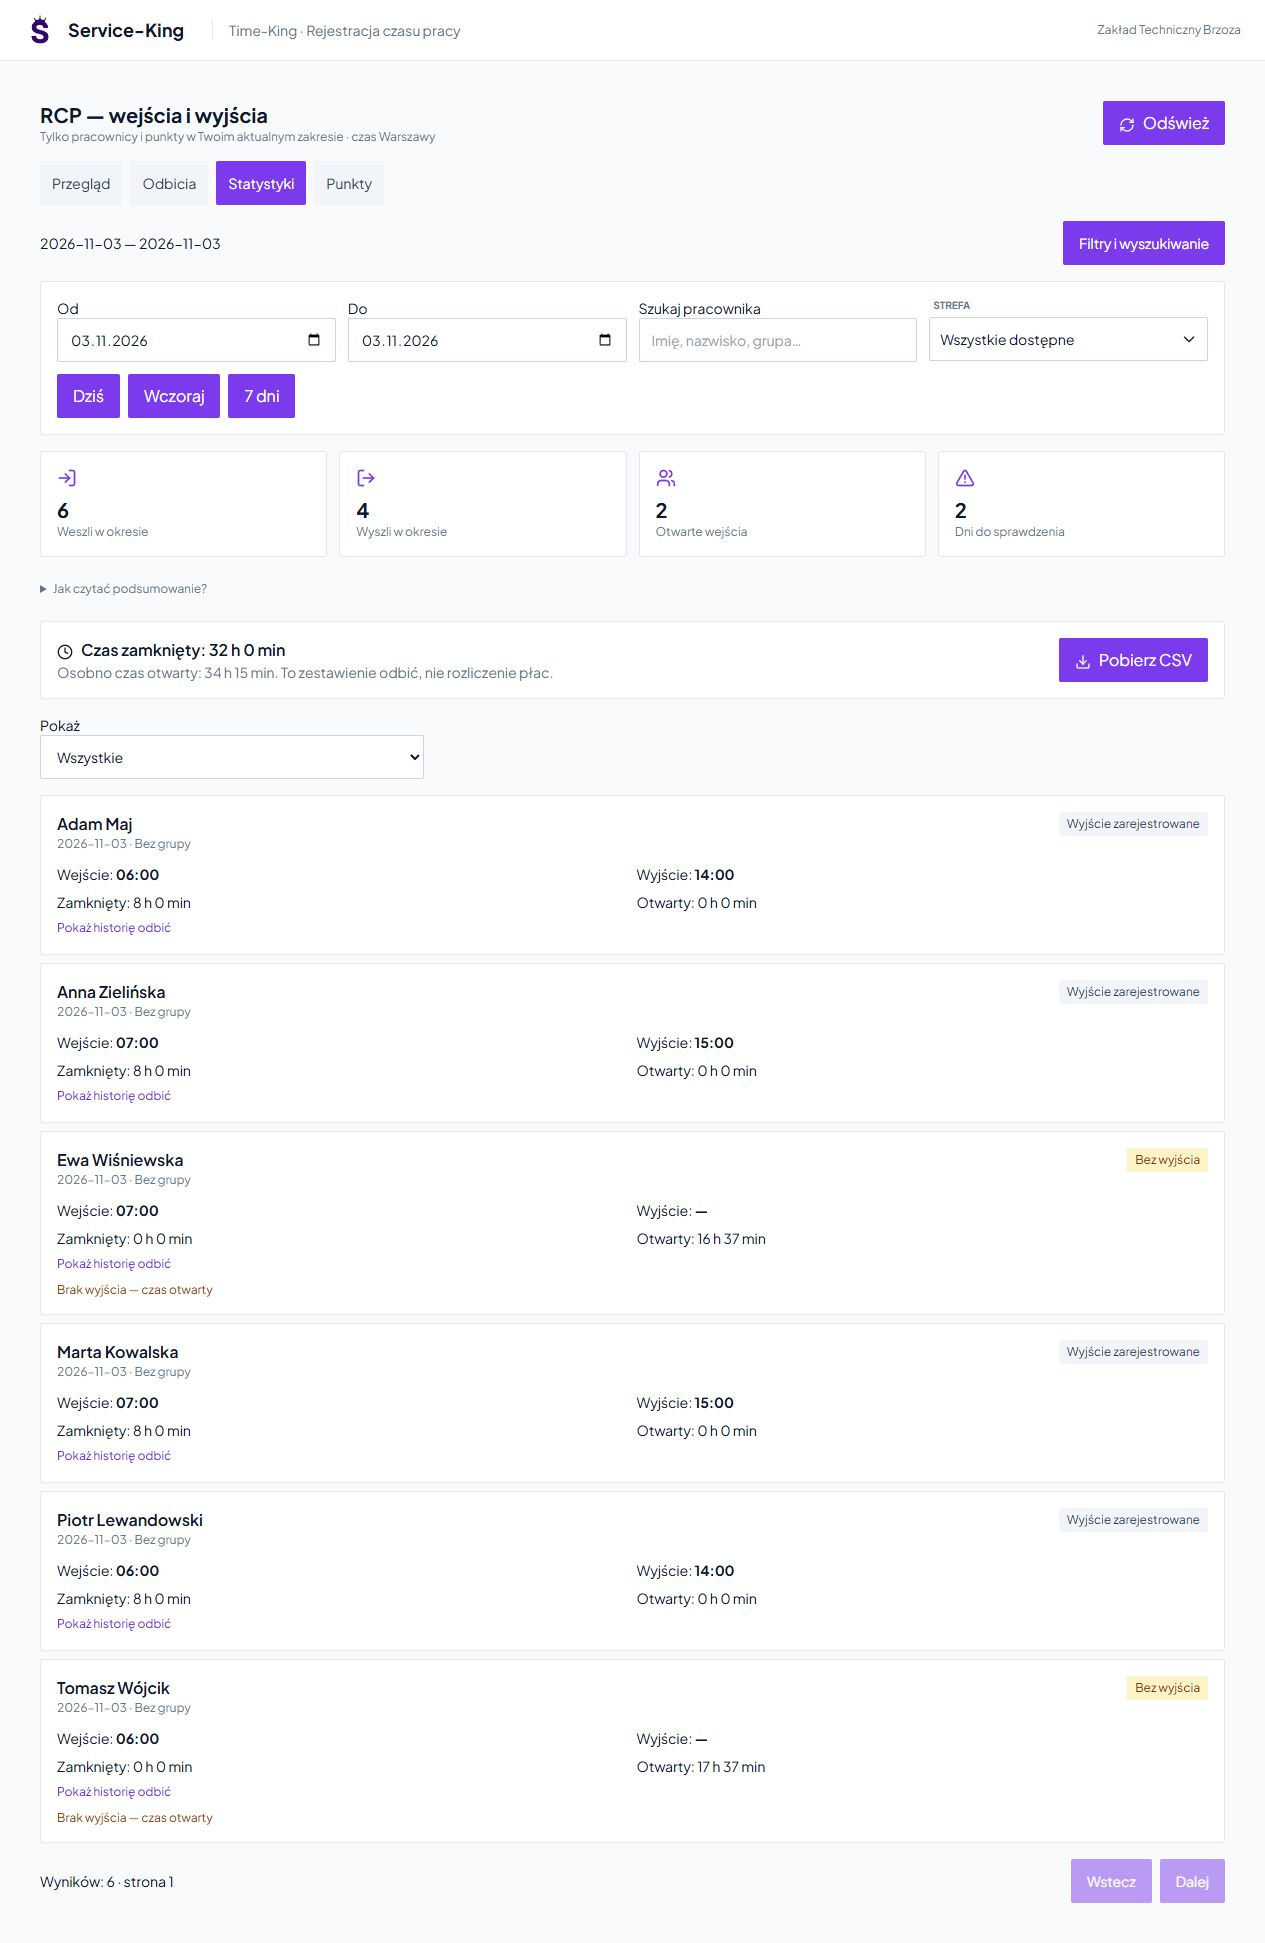
Closed input-output pairs provide a different type of information than a session that still lacks output. Time-King distinguishes between these values.
You also see incomplete sequences, e.g. output without recognized input. CSV export allows an authorized person to download the statement for further analysis.
When using data for settlements, we set separate rules for remuneration, overtime, breaks and absence acceptance. The summary shows the recorded reflections.
At the main entrance you register entries and exits. In the workshop, you can record visits to a given place.
Indicate where the point works and bind the terminal or NFC tag. A clear name makes it easier to work with the history.
Select the share of events in the time calculation and the interval to limit accidental repetitions. Settings are managed by an authorized person.
The entry/exit time and direction is set by the system according to the point configuration. The employee uses the prepared method of reflection.
Door or turnstile control requires separate integration agreement. The reflection register is used to record events at prepared points.
Before launch, we check the identifiers and operation of the device at a specific workstation.
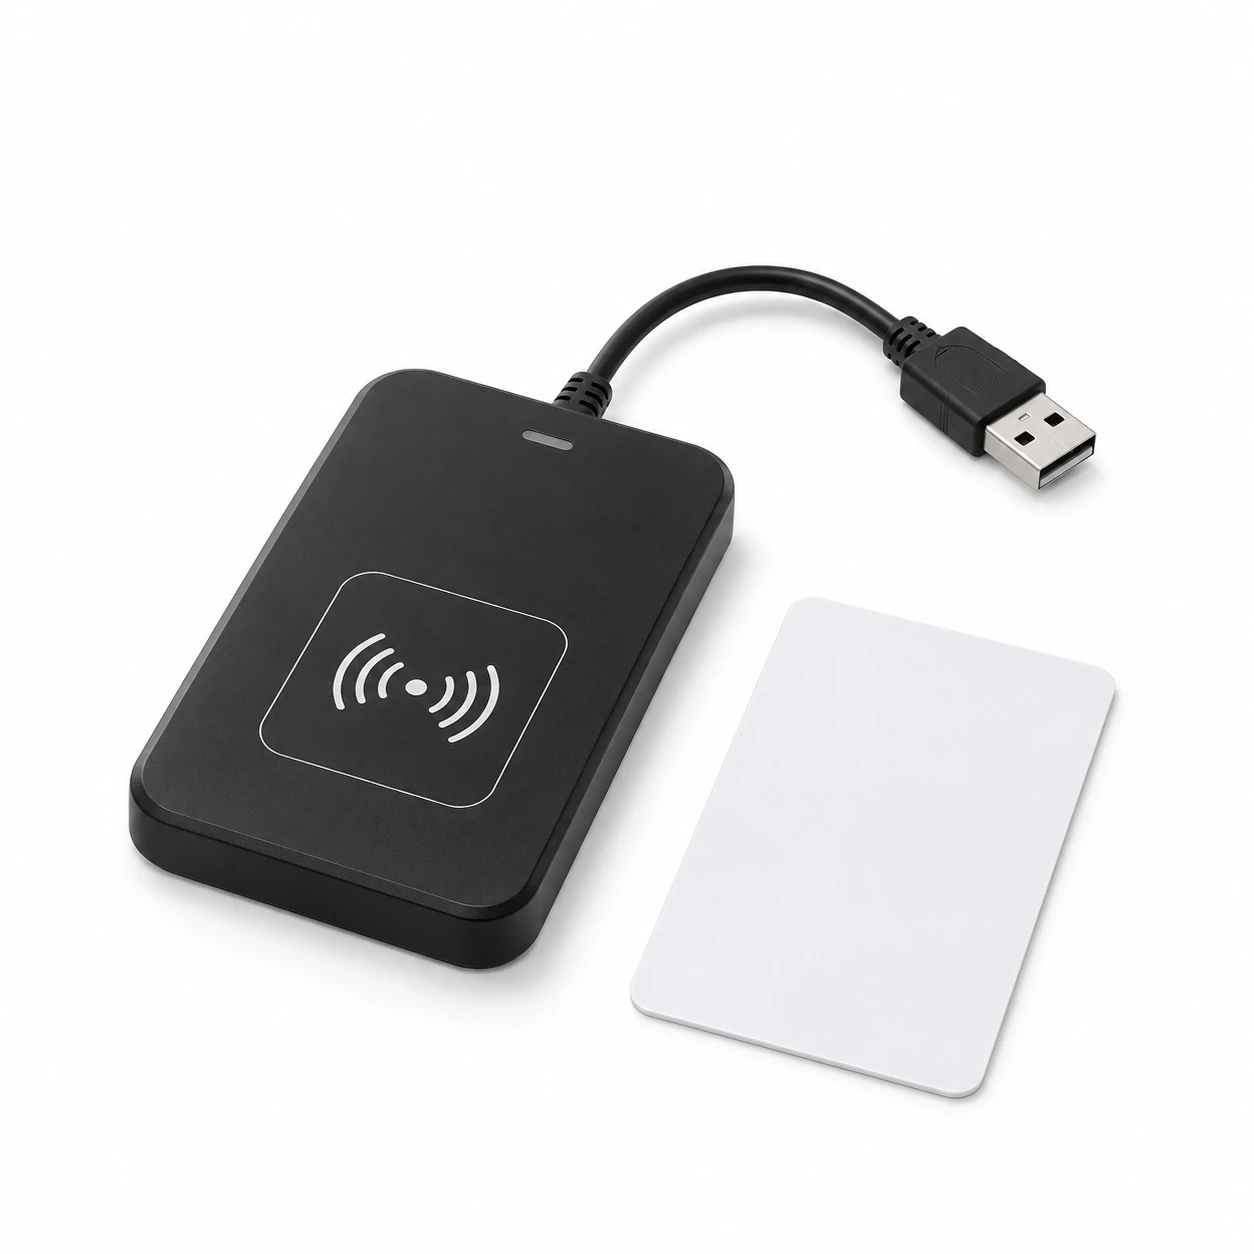
A compatible reader can act as a keyboard and pass the ID to the field. We check the format of the returned code and the person assigned.
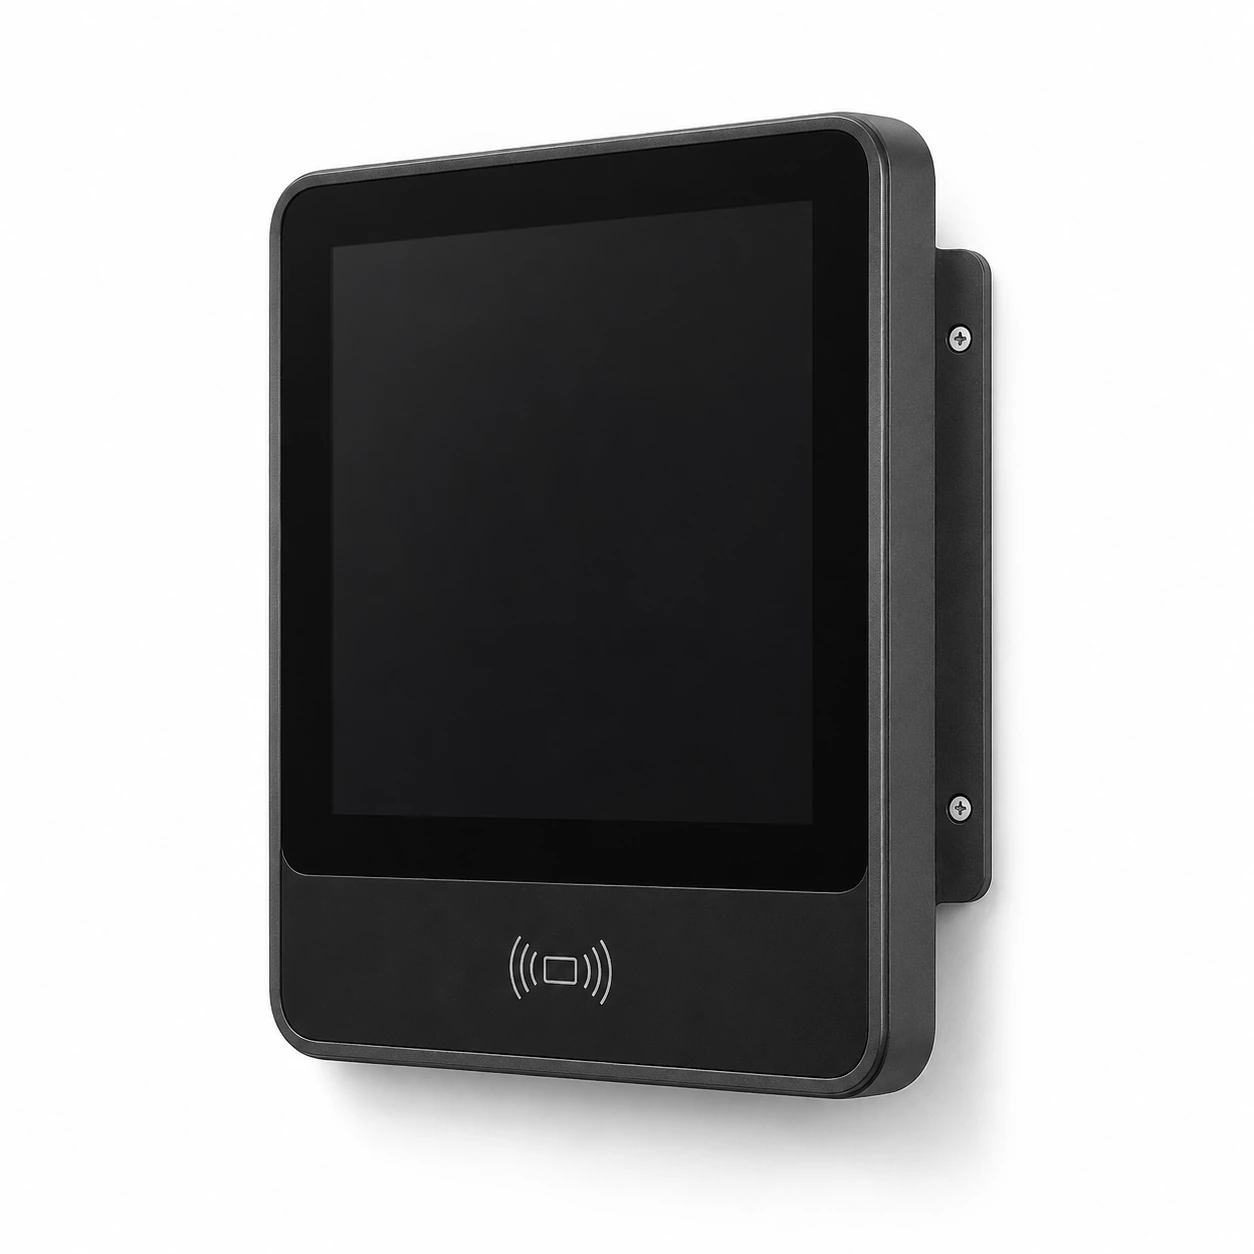
The method of installation and registration is selected depending on the location. We determine the hardware variant, supported cards and connection to the system before implementation.
The illustrations are for illustration purposes only. We check the selection of the reader and cards together - The RFID symbol does not indicate compatibility with all identifiers.
First one verified point, then other registration places.
The portal supplements registration with access to your own reflections and the ability to add a status declaration.
The declaration is a separate record. Does not overwrite reader reflection; acceptance of absences is determined in an appropriate process.
Free consultation
We'll show you how prepare the point, associate the IDs and review the bounce day. Based on this, we will select a solution for subsequent zones.
If you already have a reader and cards, please provide their model or description. We will check the possible variant of use.
Describe where you want to start your registration.
Practical knowledge